General NDT
General / Basic Non-Destructive Testing Applications
Ankalite offers its expertise in examining components manufactured in the casting, forging, and welded manufacturing industries through the non-destructive testing methods outlined below;
- Visual Testing
- Ultrasonic Testing
- Magnetic Particle Testing
- Penetrant Testing
- Radiographic Testing
- Eddy Current Testing

Visual Testing:
Visual testing (VT) in non-destructive testing (NDT) is a method used to inspect and evaluate the surface conditions of materials or components. It involves the direct visual examination of the object being tested, aided by various tools and equipment. The purpose of visual testing is to detect surface discontinuities, defects, or conditions that may affect the integrity or functionality of the material.
While visual inspection may seem like a simple method, it has its own intricacies. It is generally a procedure that needs to be conducted before applying another non-destructive testing method.
Indeed, many application standards prepared for other non-destructive testing methods prioritize visual inspection first, requiring observations to be recorded.
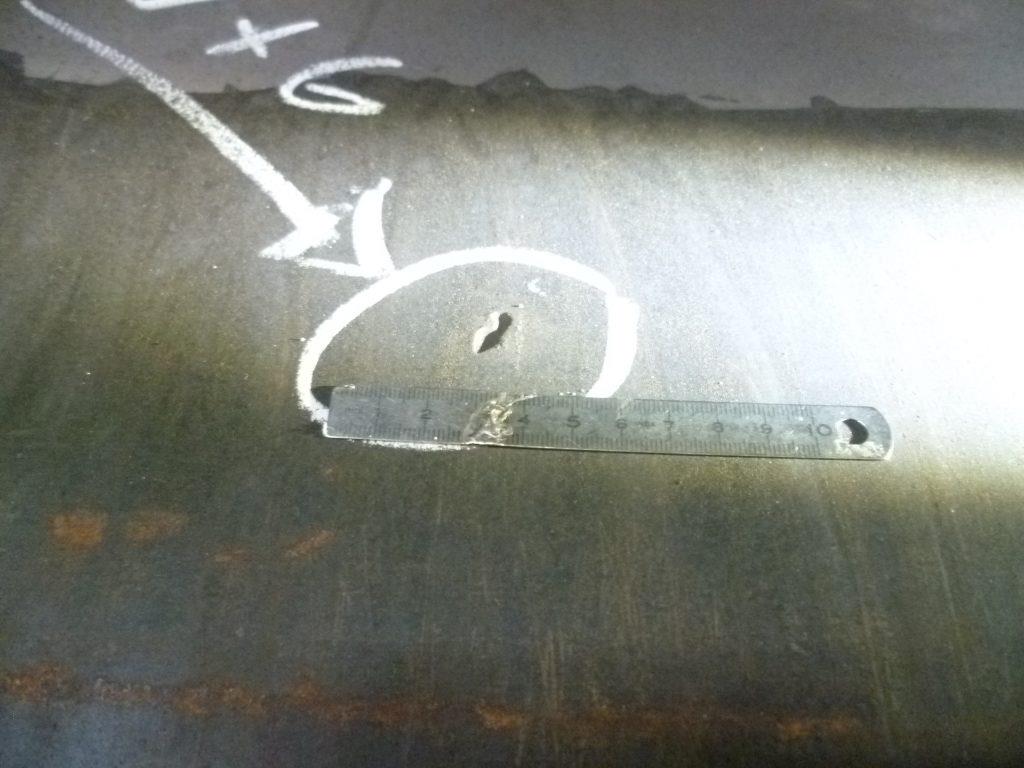
Ultrasonic Testing:
The ultrasonic testing method is commonly used to detect volumetric defects within a material, such as gas voids, slag residues, welding joint imperfections, crack-like defects, and so on. Another common application of ultrasonic testing is the detection of corrosion in metal constructions. In addition, it is also used to detect lamination defects and thickness measurements.
Important application areas of ultrasonic testing are as follows:
- Casted and forged materials,
- Weld Seams
- Plates and logs,
- Pipes,
- Semi-finished products,
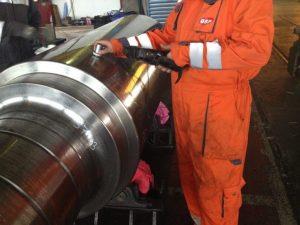
Radiografic & Radioscopy Testing:
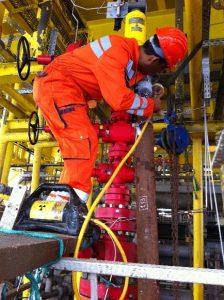
It is a method of examining all materials, whether metallic or non-metallic, for the detection of volumetric or surface defects using X or Gamma rays.
The penetrating rays passing through the material affect the films placed on the other side of the material, revealing an image of the interior of the material on the film. Voids or density variations within the material cause the formation of this image.
The application using film is called radiography, while the application without using film and directly transferring the image to a monitor is referred to as radioscopy.
Eddy Current:
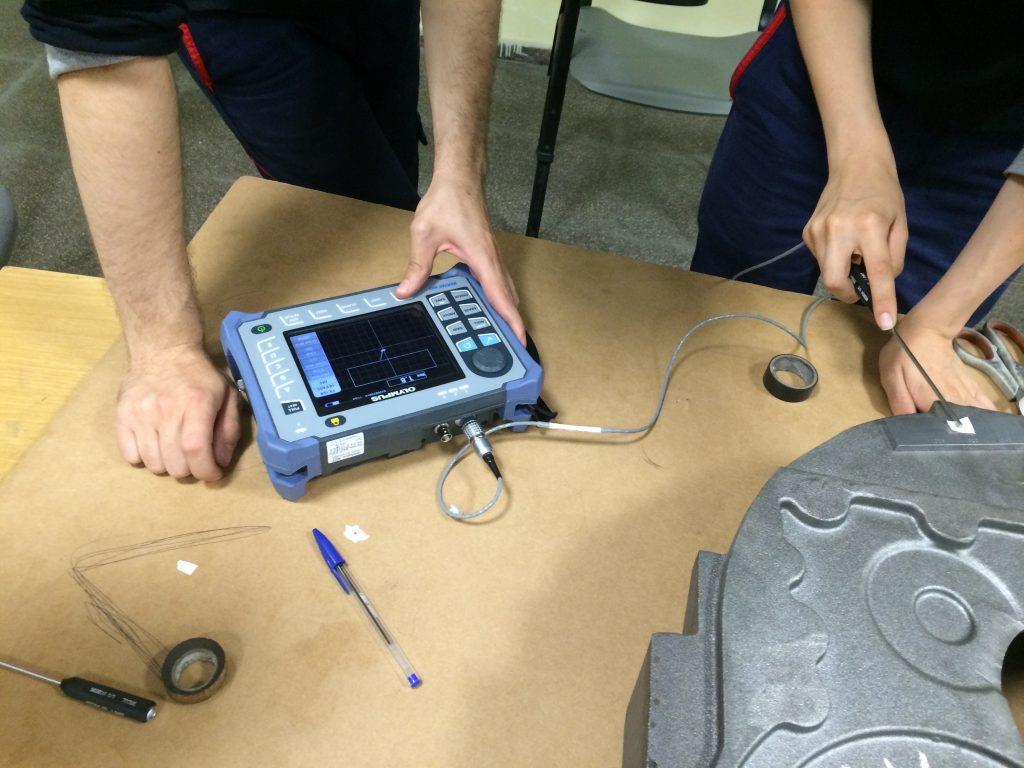
Eddy current testing is used to detect surface and subsurface defects in conductive materials. In addition, it is used for measuring corrosion, coating thickness, ferrite content, conductivity, and material classification. Due to its high test sensitivity, it is widely preferred for the inspection of high-tech products (such as turbine blades).
Important application areas are:
- Metallic materials such as aluminum, copper and brass,
- Casting materials,
- Forged materials,
- Weld seams,
- Pipes,
- Cables and ropes,
- Semi-finished products etc.
Magnetic Particle Testing:
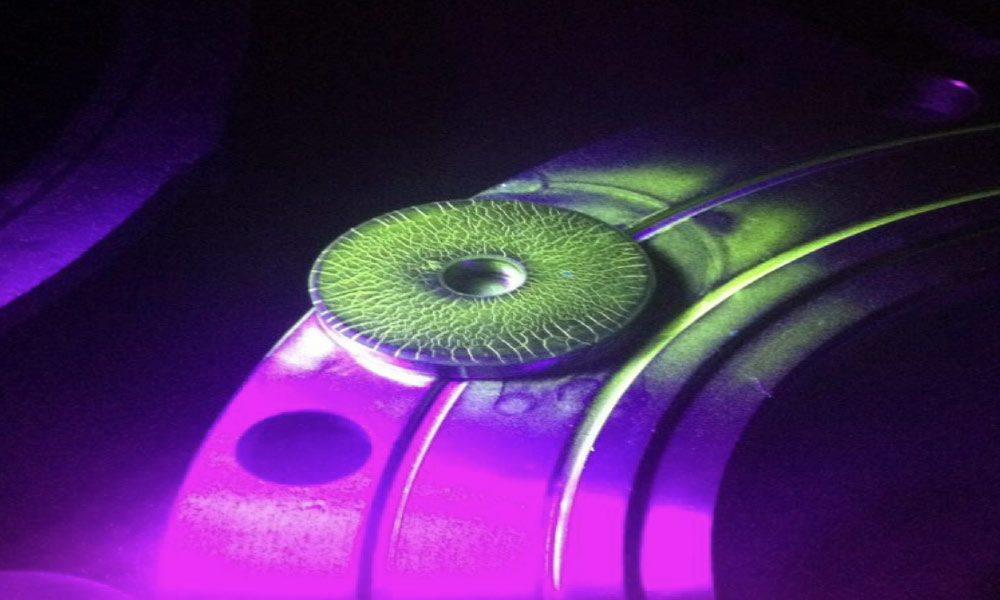
Magnetic particle inspection is used to detect near-surface subsurface defects in ferro-magnetic materials. Unlike penetrant inspection, there is no requirement for defects to be open to the material surface. Some standards require this method as a complementary inspection to radiography and/or ultrasonic testing inspections. It is widely used in industry because it provides faster results compared to other methods.
Important application areas are:
- Ferromagnetic materials such as steel,
- Casting materials,
- Forged materials,
- Weld seams,
- Pipes and logs,
- Semi-finished products,
Penetrant Testing:
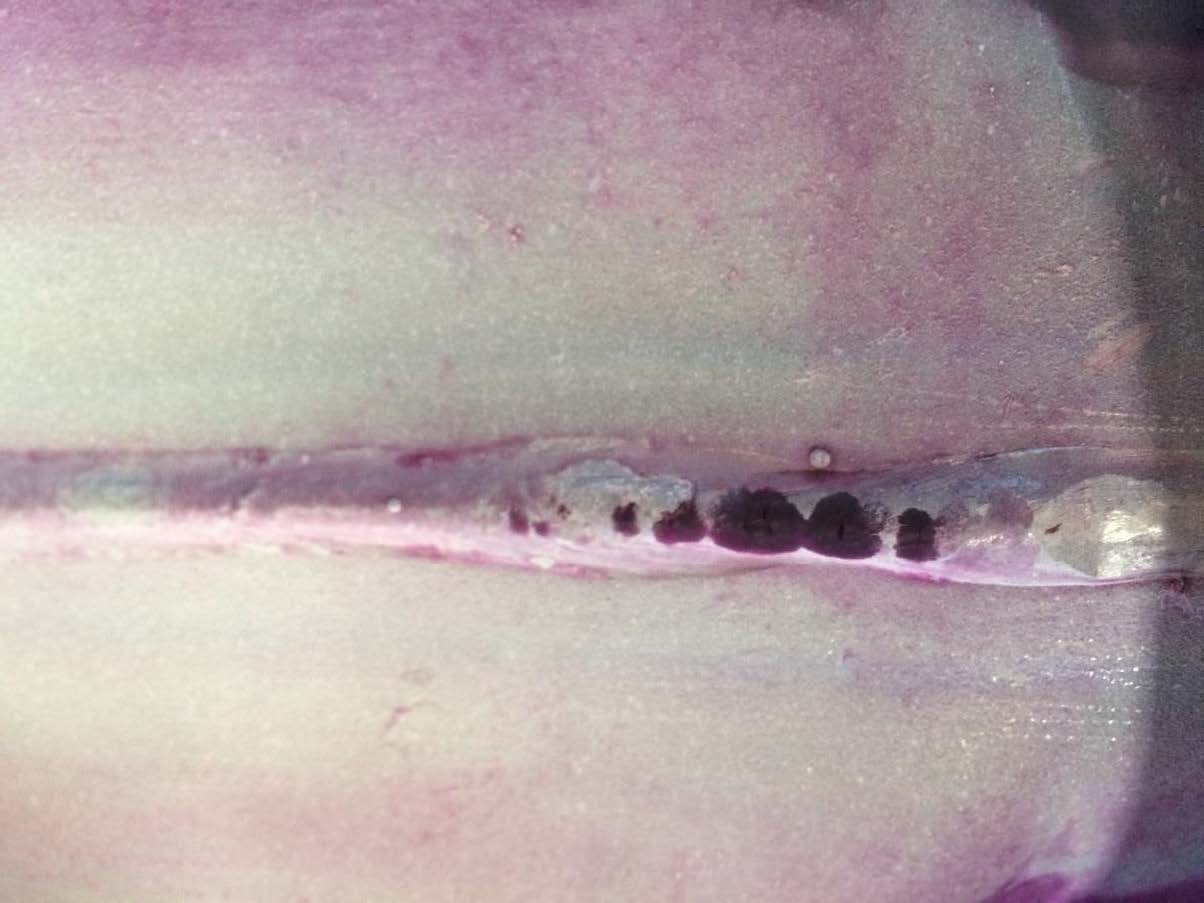
Liquid penetrant testing is a surface testing method used to detect defects that are open to the material surface. This method can be applied at different sensitivity levels depending on the size of the defect to be detected. This method can be applied to any type of material that does not interact with penetrant chemicals, making its application versatile and widely applicable.
Important application areas are:
- Metallic materials such as steel, aluminum, copper, brass,
- Non-metallic materials such as plastic,
- Seramics
- Casting materials,
- Forged materials,
- Weld Seams,
- Pipes,
- Semi-finished products etc.
RED-DYE PENETRANT
Because the dyes are visible in daylight, this method is frequently used for on-field inspections.
FLUORECENCE PENETRANT
Because these dyes are visible under ultraviolet light, the fluorescent penetrant method is more suitable for examinations in closed/dark areas. In addition, it is used to detect lamination defects in plates and make thickness measurements, making it suitable for detecting hairline cracks, such as thermal and stress cracks in turbine blades, as it is more sensitive than dye penetrant.
